Have you ever wondered how to screen record on a Mac? Fortunately, you can easily learn how to screen record on Mac with a screen capture tool. You can record video messages on Mac to make tutorials, video gameplay, online classes, and more. A Mac screen recorder with audio is particularly useful for customer service agents who need to walk customers through a product issue.
There are two ways you can screen record on MacBook Pro or screen record on MacBook Air without needing to download additional software. Below, we detail how to screen record on mac with keyboard shortcuts and Quicktime. We also list an additional third option for MacBook screen recording, for users who are interested in using third-party software with additional features. All of these options work for screen recording on MacBook Air, MacBook Pro, and every other Mac computer.
Read on to learn how to record on Mac, how to stop screen recording on Mac, and more!
3 Ways to Screen Record on MacBook
Option #1: Keyboard Shortcuts
To screen record on Mac using keyboard shortcuts, you need to make sure your MacBook is updated and you’re using macOS Mojave or a newer system.
1. To begin recording your screen, press Shift-Command (⌘) – 5. You’ll see the options to record your entire screen or a portion of your screen. You can choose to capture a screenshot of your entire MacBook screen or a portion of your screen.

Customization Options – Once the recording menu pops up, you’ll also have a number of options to select from to customize your MacBook screen recording settings. These options include:

- Saving location (desktop, documents, mail, messages, etc…)
- Time (none, 5 seconds, and 10 seconds)
- Microphone (none or built-in-microphone)
- Other options (mouse clicks, floating thumbnail, and remember last selection)
2. Once you have finished selecting your settings, you can click anywhere on your screen to start recording or you can click the record button.
3. To stop screen recording on Mac, you can either click the stop button or you can use the keyboard shortcut Command – Control – Esc.

4. Lastly, you can trim your recorded video. When you finish recording, you’ll see a video ‘thumbnail’ appear in the bottom right corner of your screen. When you click this thumbnail, you’ll see options to trim off the start or end of the video. Then, you’ll be to share and save your video screen capture wherever you’d like on your device.

Option #2: QuickTime Screen Recording
The second way to screen record on Mac is to use QuickTime Player, which comes automatically pre-installed on all MacBooks, both MacBook Pro and MacBook Air.
1. Open up the QuickTime Player application. To do this, click on ‘Finder’, then ‘Applications’, and scroll until you find QuickTime Player.
2. Click on ‘file’ in the menu bar, and then press ‘new screen recording’.

3. Once you click on ‘new screen recording’, you’ll see the same menu as described in method #1 above. You’ll be able to follow the same steps outlined above to capture your screen on Mac with QuickTime screen recording and stop QuickTime screen recording when you’re finished.
Option #3: Alternative Ways to Record on MacBook
Do you want to know how to screen record or record video on Mac without Quicktime? There are a number of different screen recording applications available to use on a MacBook. We list 4 Mac screen recorder options to screen record on MacBook below. You can learn how to screen record on Mac for each MacBook recorder on their respective website.
Best Screen Recorders for Mac
Features
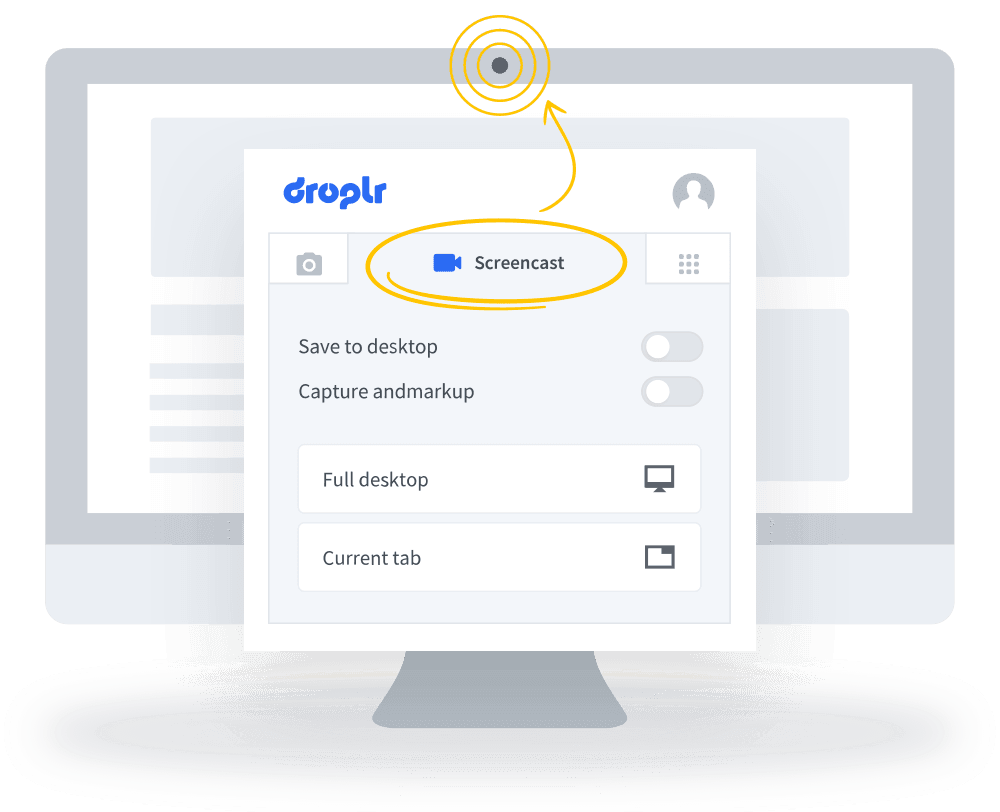
- Link Sharing – When you finish creating your screen record on Mac, your video is automatically uploaded to the cloud and into your Droplr dashboard. You then have a short link that links to your video that you can share with anyone, anywhere.
- Mac Record Screen and Audio – With Droplr, you can screen record on Mac with sound.
- Mouse Clicks – When MacBook screen recording with Droplr, turn on ‘highlighted mouse clicks’ to help guide the viewer’s eyes when creating a demo or how-to.
- Privacy Settings – Users can also customize and change the privacy settings of their drops. Droplr’s privacy settings include public, private, and teams. You can also change ‘self-destruct’ settings and set up drop passwords. Protect your video screen capture on Mac.
- Integrations – Droplr has a number of different integrations to use with the Mac screen recorder. These include Slack, Intercom, Photoshop, Sketch, and more. Integrating all of your tools into one space can help save time and create a more productive routine.
- iOS app – Droplr also offers an app for iPhone and iPad, so you can share your screen recordings between devices.

Features
- File Formatting – Movavi allows users to save their Mac screen recordings in a couple of different file formats.
- Video Editing – Movavi comes with a variety of editing tools for Mac screen recording software including trimming, audio mixing, and more.
- Keystrokes – Users can also turn on keystroke recording which shows how you’re using your keyboard during a screen recording.

Features
- Advanced Editing – OBS Studio comes with advanced editing features and is not for beginners. With OBS, you can trim videos, add text and photos to recordings, and more.
- Audio Mixing – OBS also comes with advanced audio mixing tools that let you customize audio settings, filters, and more.
- Free Download – OBS Studio is also a completely free application for users to download and use on Mac or Windows. It is the best screen recorder on Mac for free.

Features
- Chrome Extension: Record a video message of yourself, your screen, or both within your Chrome browser on your MacBook.
- Video Trimming: Covideo’s screen recorder for Mac allows users to edit the beginning and end of their video messages.
- CRM Code: Add a video message to any email body or CRM with Covideo’s unique coding.
- Video Analytics: Measure your video messages’ engagement with HotSpot details and viewer notifications.
- Covideo Gmail and Outlook Add-in: Install Gmail and Outlook extensions so you can record your Mac screen, yourself, or both within your personal email account.
Video Editing Software on Mac
If you want to edit your video after recording it, you can do so easily with a Mac video editor. You can use free video editing software for Mac with Quicktime screen recording. To edit with Quicktime, simply open your recording, then click “Edit” from the top toolbar.

There are various editing options on Quicktime: you can rotate your video left or right, flip it horizontally or vertically, remove audio or video trim it, and split and reorder clips. After you click “Edit”, just click on the editing option that you want.
As stated above, Droplr, Covideo, Movavi, and OBS Studio all come with video editing tools as well. So, the best screen recorders for Mac also double as the best video editing software for Mac!
The Best Ways to Screen Record on Mac
Whether you’re using your MacBook screen recorder or a third-party application to screen record, it’s easy to create interactive and unique content. Now that you know how to record on mac, open up your MacBook screen recording and get creative!